Eclipse
This guide will show you how to setup Eclipse IDE for OpenEMS development.
| Make sure you have the correct version of the Java Development Kit (JDK) installed on your system. |
1. Setup Eclipse IDE for OpenEMS Edge and Backend
-
Prepare Eclipse IDE
-
Download Eclipse for Java , install and start it
-
On first start you will get asked to create a workspace. Select your source code directory (
C:\Users\your.user\git\openemsin our example) and press Launch.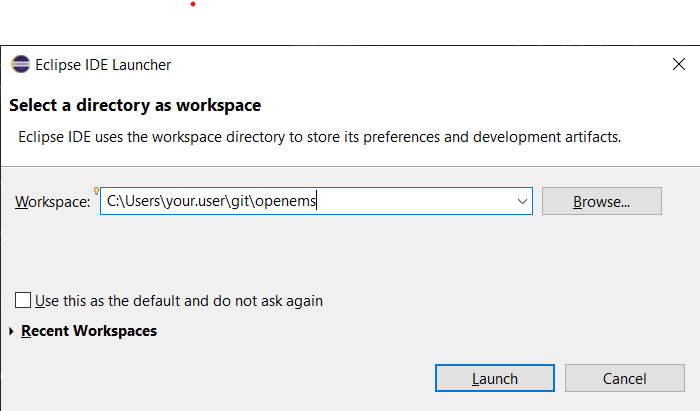 Figure 1. Creating a workspace in Eclipse IDE
 -
Install BndTools in Eclipse:
Menu: Help → Eclipse Marketplace… → Find: → enter Bndtools → press Install
-
Configure Eclipse IDE to use JDK 21.
-
In the Menu select Windows → Preferences
-
Select Java - Installed JREs in the navigation tree
-
Press the Add… button
-
Keep Standard VM selected and press Next >
-
Press the Directory… button and select the folder of the installed JDK (e.g.
C:\Program Files\Eclipse Adoptium\jdk-21.0.3.9-hotspot) -
Press the Finish button
-
Back in the Preferences window, tick the newly added JDK 21 and press Apply and Close
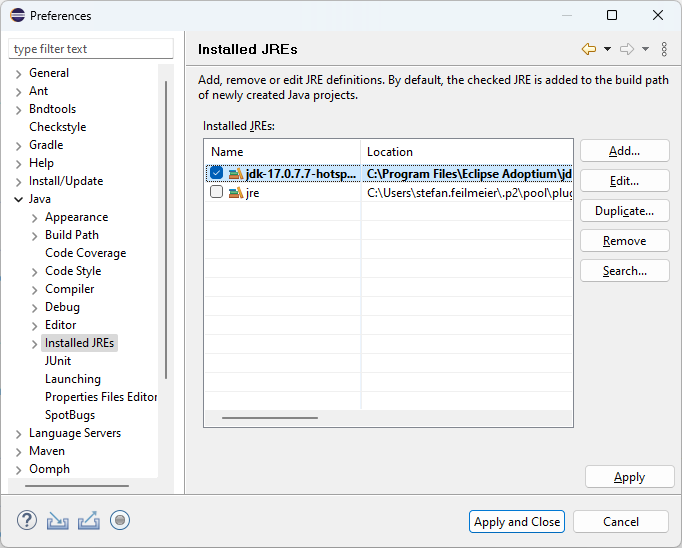 Figure 2. Creating a workspace in Eclipse IDE
-
-
-
Import OpenEMS component projects (OSGi bundles):
Menu: File → Import… → Bndtools → Existing Bnd Workspace → your source code directory should have been selected as Root Directory automatically → Finish → "Switch to Bndtools perspective?" Yes
-
Eclipse will now spend some time importing and building OpenEMS Edge and Backend. Close the Welcome window to follow the progress till you eventually see the full tree of OpenEMS projects (or bundles) in the Bndtools Explorer and all errors and warnings in the Problems tab disappear.
2. Run OpenEMS Edge
-
Open the project io.openems.edge.application and double click on EdgeApp.bndrun.
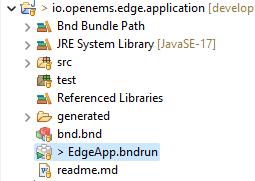 Figure 3. io.openems.edge.application project in Eclipse IDE
Instead of navigating through the projects tree, you can simply use the keyboard shortcut Ctrl + Shift + R to start the "Open Resource" dialog. Enter "EdgeApp.bndrun" there and press Enter to open the file. The
EdgeApp.bndrunfile declares all the bundles and runtime properties. For now it should not be necessary to edit it, but it hides some useful settings under the Source tab:-
org.osgi.service.http.port=8080: start the Apache Felix Web Console on port8080 -
felix.cm.dir=c:/openems/config: persist configurations in the folderc:/openems/config. Adjust this if you are working on Linux to keep your configurations after restart -
openems.data.dir=c:/openems/data: this is where bundles are allowed to persist data. It is used e.g. by the RRD4j timedata storage
-
-
Click on Run OSGi to run OpenEMS Edge. You should see log outputs in the Console tab inside Eclipse IDE.
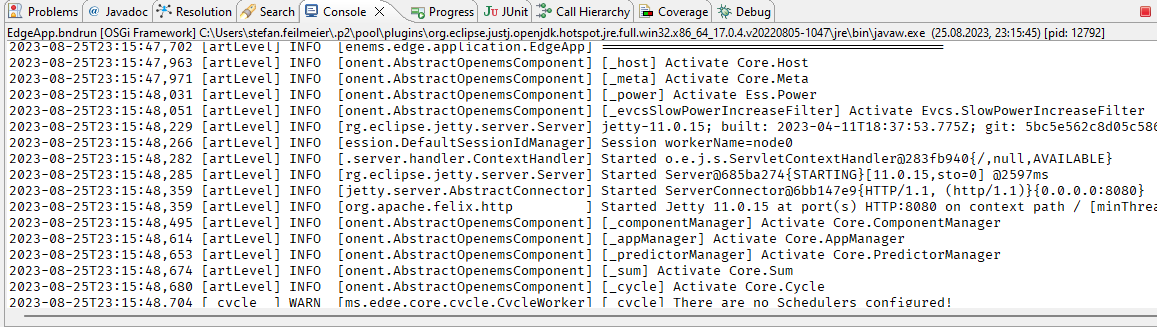 Figure 4. OpenEMS Edge initial log output
3. Run OpenEMS Backend
-
Open the project io.openems.backend.application and double click on BackendApp.bndrun.
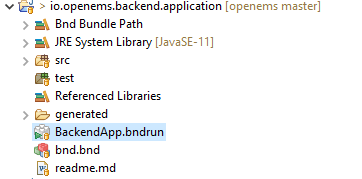 Figure 5. io.openems.backend.application project in Eclipse IDE
 -
Click on Run OSGi to run OpenEMS Backend. You should see log outputs on the console inside Eclipse IDE.
 Figure 6. OpenEMS Backend initial log output
Disable the two icon buttons "Show Console When Standard Out changes" and "Show Console When Standard Error changes" next to the Console tab to avoid constant switching between the output of OpenEMS Edge and OpenEMS Backend.